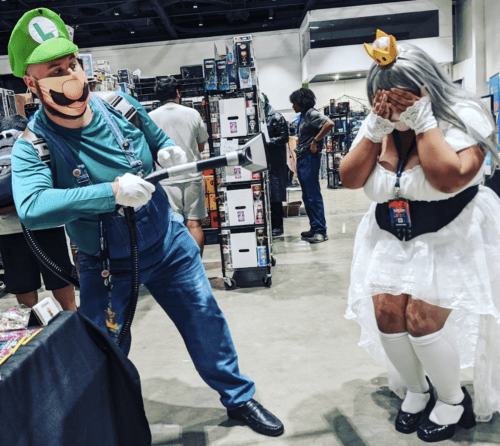
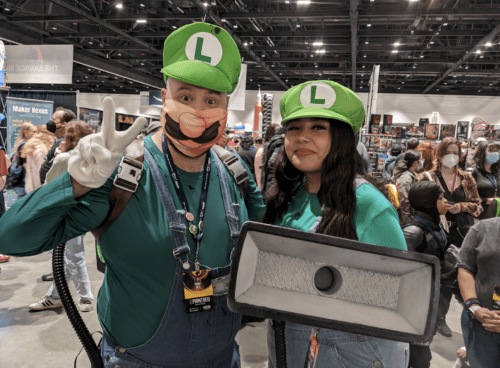
Rob off of The Magpi shows you how to construct a 3D-printed, Poltergust G-00 vacuum from Luigi’s Mansion 3 with a Raspberry Pi Pico to make it extra cool.
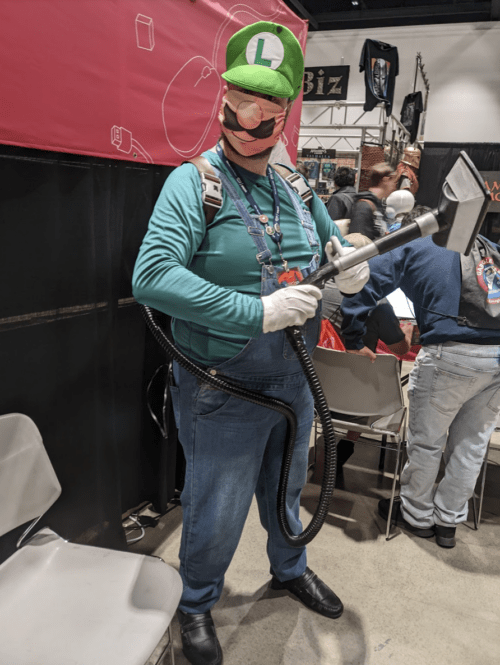
Looking for a cool costume accessory this Halloween to really make your costume stand out? Pair this 3D-printed vacuum cleaner with an over-the-counter Green Plumber costume and you have a thematically correct costume that won’t break the bank.
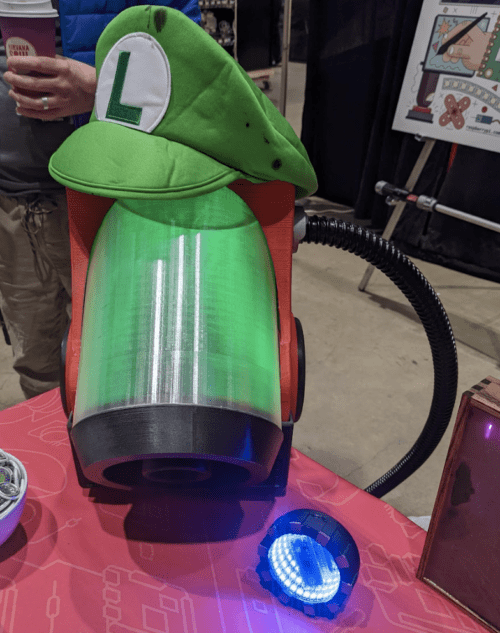
The Poltergust G-00 is the tool of choice of Luigi in Luigi’s Mansion 3, and we thought we’d jazz it up with a Raspberry Pi Pico with lights and motors and more. It’s moustache time.
01. Print your vacuum cleaner
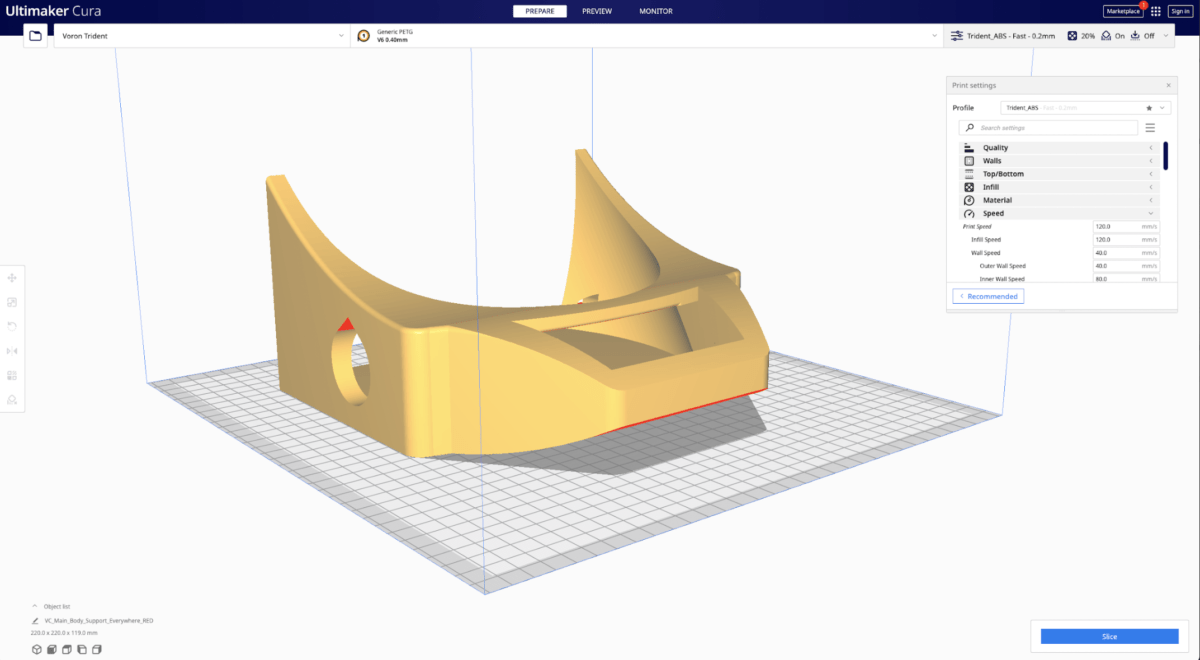
In the past, Luigi’s Mansion Poltergusts were easily made with old vacuums off of eBay. Just get one and you’re good to go! However, the developers cheated a little bit with the Poltergust G-00 and, in this case, it is much easier and accurate to 3D-print one. The version available by Cryzzgrantham is really well put together and free. However, the handle and nozzle are quite small. If you’d like a bigger model, we used the one from Double A Cosplay on Etsy. It uses fewer parts, so it’s not as easily customisable without further editing or power tools.
02. Clean up your vacuum
The tolerances on these prints can be quite tight, and 3D printing isn’t always perfect, so test out the part fits after printing. We took a rotary tool to the tyres, fan housing, and hose connector to make sure they all fit fine. The main vacuum body can slot together very nicely and mostly hold by friction, but be prepared to add hot glue later.
We made the fan housing larger than needed, as we plan to have the fan spinning when a trigger is pulled on the nozzle section.
As for the nozzle section trigger – if you use the smaller handle, the trigger on that can be more easily rigged to be depressed. On the larger one, we drilled a couple of holes into the trigger housing so we could add a button, with wires going through the hose section.
03. Smooth your vacuum
Depending on your level of time and care for detail, you can now spend a couple of days getting the prints to look very smooth. There are many ways to do this; however, the tried and true method of applying a thin layer of gesso, sanding it down, and then repeating until the surface is smooth is great as it also holds paint very well.
You can use various materials to fill the gaps on the main vacuum case as well, such as using a 3D print pen to add similar material, or some kind of Polyfilla works well. Do this before you start your gesso layers, though.
04. Paint your vacuum
Prime, paint, topcoat. For our vacuum, we went with a grey primer so that some of the edge details would stand out more. A couple of coats of that all over and allowed to dry will allow the paint to adhere better. Luckily, most of the bits are separated by colour, and you just need red, black, and silver for them. Two or three coats of each colour is a good idea. For the alternate handle, we painted it all silver first, let that dry, and then used masking tape to cover the bits we wanted to remain silver before going over it again with black. Use a craft knife to trim the tape to get sharper edges on the paint.

After that’s all done, a clear or gloss topcoat will finish it off. We suggest gloss to match the game. Remember to do all of this outside or in a well-ventilated room.
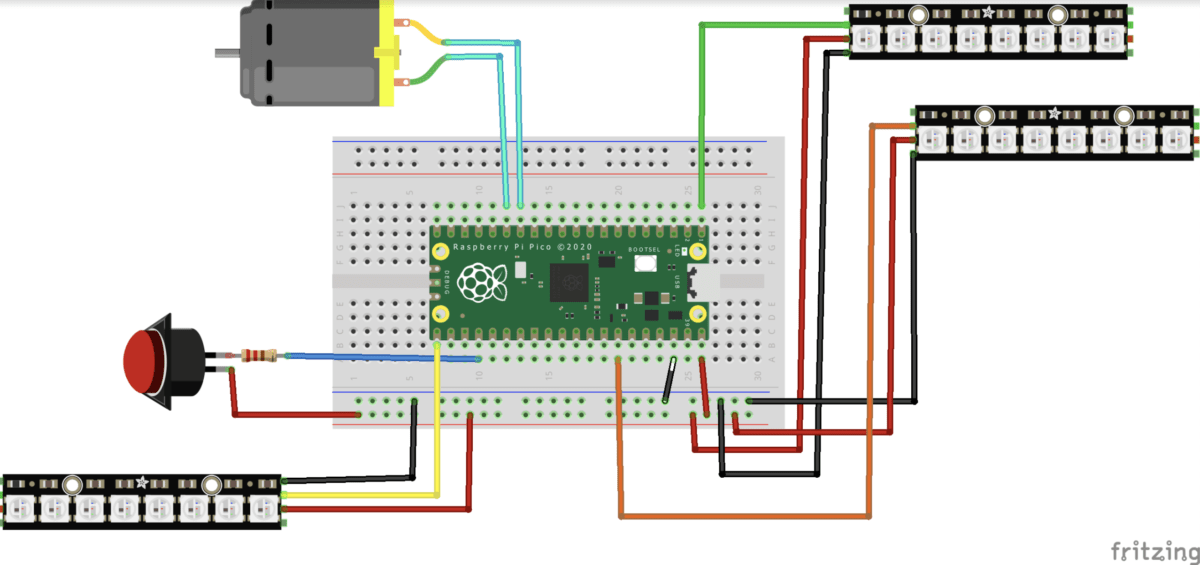
05. Build a test circuit
It’s always a good idea to test your circuit before installing it into any project. If you follow along to Figure 1, it shows you how to wire up your circuit to a Pico on a breadboard. All the LEDs can be powered off of the 5 V pin on Pico, as it gets power directly from whatever powers Pico. However, a resistor is very useful to make sure they don’t draw too much power. Eventually you’ll need to install these components, and Pico, into the vacuum housing at the bottom. You can either solder them onto Pico, or just glue the breadboard into there for easy maintenance.
06. Installing the code
With the Pico circuit set up, you can start testing the code. Download the code from magpi.cc/poltergust and then head to magpi.cc/circuitpython. Here, we’re going to download the files needed to allow Pico to run using CircuitPython, which has some fancy LED animations we’re going to use. You’ll need to then hold the BOOTSEL button down on Pico before plugging it into your PC and then dropping the CircuitPython UF2 file onto the drive that pops up. It will disappear and then come back as CIRCUITPY, where you can then add the code.py file from the code bundle you downloaded.
Finally, put the .mpy MicroPython library files into the folder lib on Pico.
07. Customise your code
The Poltergust code has two states: idle and active. By this we mean it will behave a certain way when turned on and nothing is happening (idle), and with a button you’ll be able to change the behaviour of LEDs and a motor (active).
The LEDs on the handle and wheels are linked so only require one pin, and the tank glows whatever is happening. The motor has been turned off in the code and you should be careful if using it. The throttle is set low so you can test it out yourself without making it go dangerously fast.
You can also change up the number of LEDs on the first line of each section.
08. Install your electronics
This specific print has a couple of hollow support rods that run through the body, and holes that access the wheels as well. These are perfect for running wires through. Run the handle LED wires down the side that fits to the hose connector, and the wires for the tank light on the other side. The tank is fairly enclosed, so use your judgement on where to glue those LEDs. Stick the NeoPixel circles to the inside of the wheel spokes and run the wires to the main empty compartment on the bottom. You just need to hook it all into Pico via soldering or with a breadboard.
09. Start construction
Two 50 cm leather straps, cut in half, have been attached via 5 mm nuts and bolts so they hold firm in the housing and turn as well. Slot the side clasp buckles through them on the other end. A lot of the rest of the vacuum cleaner comes together with friction. However, parts like the wheels, wheel rim, tank, etc. need to be hot-glued down. In our build, we removed the inner wheel and inner fan section so that we could more easily add the electronics. These are the circles with the pegs sticking out of the middle.
10. Finish construction
We’ve run the wire for the handle LEDs and button through the hose and now need to stick all of that to the handle, and then seal the hose to both ends. The bigger handle is made from four pieces, which all slot together quite nicely without gluing. However, if you don’t need to take it apart again, you could always use glue.
11. Finish the straps
Put the vacuum on and attach the side clasps – you should be able to figure out how much of the leather you can snip off. We suggest doing it from the top buckle so that the buckles themselves sit high on your chest, like in the game.
Once that’s done, you can sew the ends together on all the straps, or use glue – the glue may not hold super-well on leather or pleather, though.
12. Powering and testing
We had a USB cable dangling from the hole in the back of the case connected to a mobile battery in the back pocket of our dungarees. Plugging it into that should have the full system turn on and start glowing and spinning and such. Test out the button to make sure it works properly. The LEDs don’t take up a huge amount of current, so a decent mobile battery will easily last you a long time – we went a whole day with barely any loss in power or light.


