This #MagPiMonday, we have an excellent tutorial for you from the latest issue. Go large or go home with this jumbo-sized timer for getting more done.
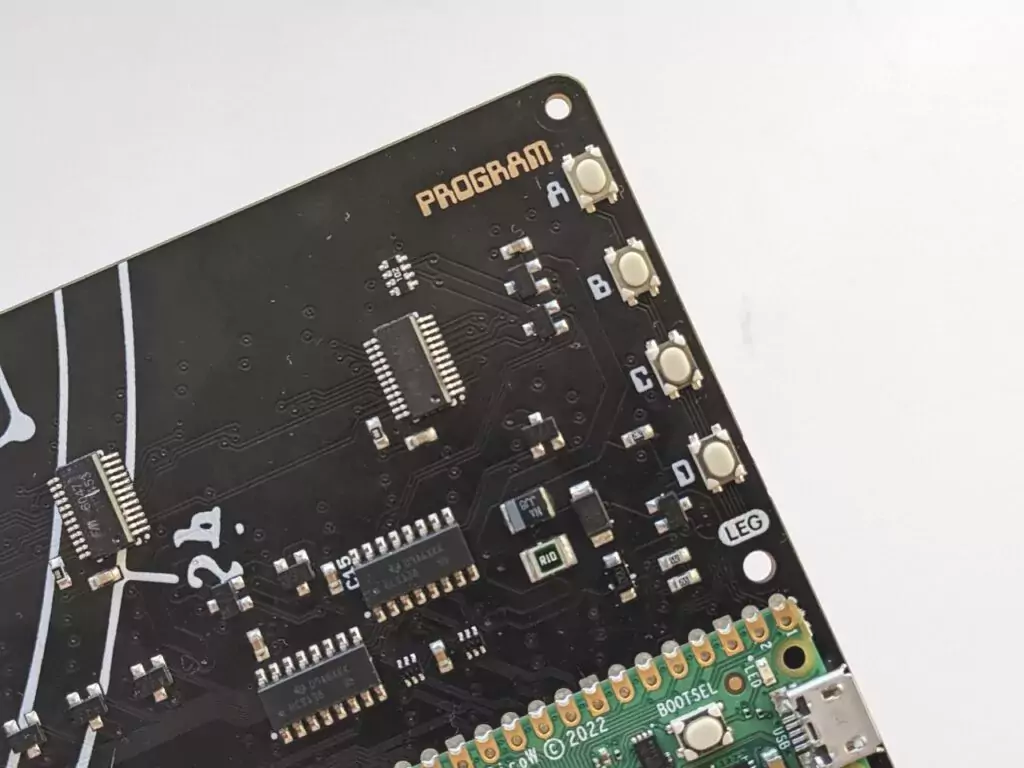
The Pomodoro technique is a simple system of effort and reward: work for 25 minutes and you get five minutes off. After every fourth block of work, you can rest for 20 minutes. That’s it. But, if you’re keeping track of those blocks with the timer on your phone, it’s easy to miss a break – or to get so distracted actually playing with your phone that you get nothing done. In this tutorial, we’ll solve both of those problems by using the stunning Galactic Unicorn to build a dedicated Pomodoro timer that automatically alternates between work and rest periods. Press button A on the back to start it, C to manually switch between work and rest, and D to end the cycle altogether.
01. Set up the environment
The first four lines of our pomo.py code import the libraries needed for our routine. We then create a frame buffer, called buffer, in which we can temporarily stage any graphics we want to send to the display before committing them to the LEDs. We then declare the variable gu, which represents the Galactic Unicorn in our routine, and store its width in the variable displaywidth. We’ll use that width to calculate the panel’s midpoint when we want to centralise text later.
02. Define three routines
We’ve split the bulk of our code into three functions: cycle(), fill(), and empty(). The cycle() function manages the transition between fill() and empty() and keeps track of whether we’re in a Pomodoro work cycle or rest cycle. The fill() function handles wiping and then illuminating every pixel on the display in a subtle red-biased gradient for a work cycle, and a green-biased gradient for a rest cycle. The empty() function extinguishes each LED in turn, at a rate determined by the period: work, rest, or extended rest. Let’s take a look at the cycle() function in more detail.
03. The cycle() function
Our first job, on line 19, is to define a flag – called killswitch – and set its condition to True. As you’ll see from line 23, we’ve set the cycle() function to carry on repeating so long as that condition doesn’t change. We’ve also established a counter, called tally, which will increment by one at the end of every work cycle. Why? Because most Pomodoro routines allow for five minutes of rest after a regular work cycle, and 20 after every fourth work cycle. By keeping track of how many work cycles we’ve completed, we can check whether the number stored in tally is a multiple of four when we get to the empty() function.

04. Explain what’s happening
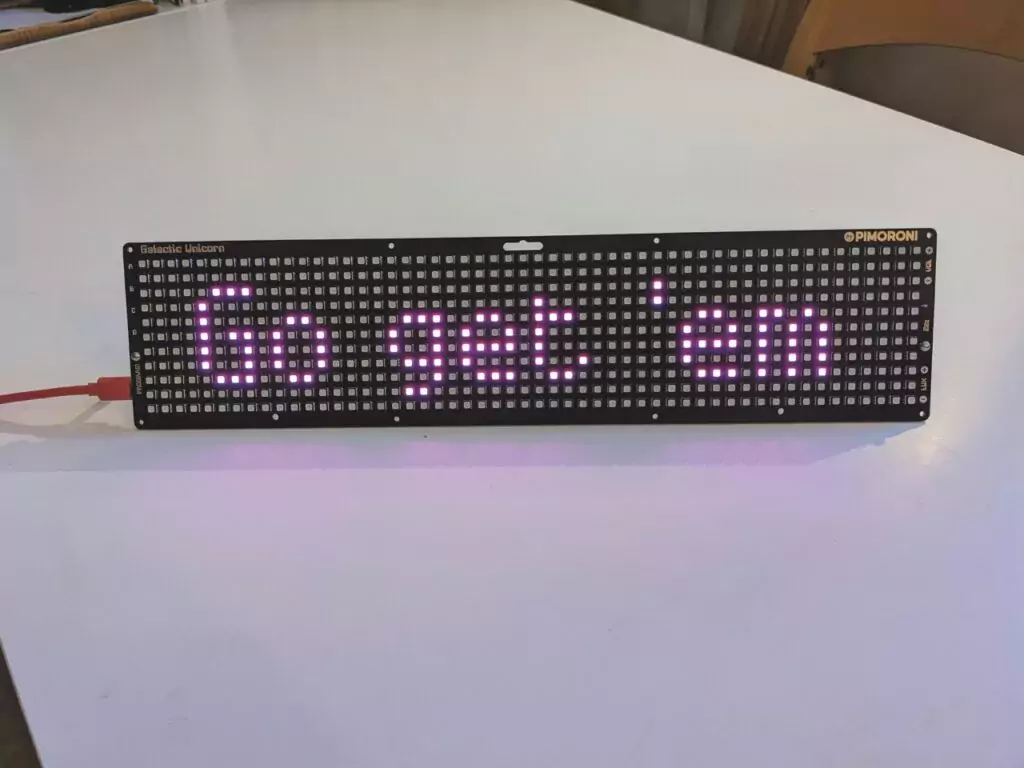
Lines 24 to 30 tell the user what’s going on. We set the pen colour to hot pink, having previously assigned that value to the variable fg (for foreground) on line 12, then measure the width of our message, which happens to be “Go get ’em”. We subtract the message length from the width of the Galaxy Unicorn display and divide the result by two. The result of this calculation gives us the position of the left-hand margin necessary for centralising the text on the display. We then use:
utime.sleep(1)…to pause for a second, which should be long enough to read the display before calling the fill() function.
05. Clear the display
When calling fill(), we pass it the variable ‘type’. This variable is used throughout the code, and will always be set to either ‘work’ or ‘rest’. It’s used to define both the colours used to illuminate the LEDs (in the fill() function), and the interval between each LED blinking out (in the empty() routine). The fill() function’s first job is to wipe away the instructions we just gave the user, so it first switches to the black pen, which we assigned to the value bg (for background) on line 13, then works through each of the 53 columns and 11 rows, turning off each pixel in turn. We could have blanked the whole screen at once using the command:
buffer.clear()…but doing it one pixel at a time, with a very slight pause between each LED, is a more visually interesting option.

06. Rainbows everywhere
Once every light has been extinguished, we light them up again. Notice how, on lines 45 to 47, we set the values for red, green, and blue to maximum (255 each). If we used these values to illuminate the LEDs, every light on the board would be white. That would be boring. Instead, we want to introduce a rainbow or gradient effect, so on lines 60 and 62 we reduce the strength of the green tone if it’s a work cycle, and the red tone if it’s a rest cycle, by dividing the maximum strength of either by 53 (the number of columns of LEDs) and multiplying the result by the column number to deliver a gradient. Again, we pause briefly between each LED being illuminated, purely for effect.
07. Check the killswitch
With every LED illuminated, we’re returned to the cycle() function, which immediately calls the empty() function in a way that will pipe any value returned by that function to our killswitch variable:
killswitch = empty(type, tally)This way, we can check whether the killswitch was activated while the empty() function was running. Notice that, at the same time, we’re passing two variables to empty(): type and tally. That’s so empty() knows how long to leave between each LED going out, and whether we’ve earned ourselves a longer rest period.
08. Mind the gaps
Lines 78 to 81 effectively set the delay between each LED extinguishing to 2572 ms (2.572 seconds) and 515 ms (0.515 seconds) for work and rest cycles respectively. We then test whether the number stored in the tally variable is a multiple of four on line 83, and, if it is, we extend the gap between each LED going out in the upcoming rest period to 2058 ms (2.058 seconds). Multiply each of these timings by 583, which is the total number of LEDs on the board, and you’ll see how long each cycle lasts. A work cycle is 1,499,476 ms (1499.476 seconds, or 24.99 minutes), a regular rest cycle is 300,245 ms (300.245 seconds, or five minutes), and an extended rest cycle is 1,199,814 ms (1199.814 seconds, or 19.99 minutes).
09. Test for button presses
Between lines 57 and 109, we extinguish the pixels one at a time, starting at the bottom right of the board and ending up at the top left. Notice line 92:
for zzz in range(delay):This is where our calculations come in. Rather than pausing for 2058 ms at a time between each work cycle LED, the function actually repeats 2058 times, pausing for 1 ms (0.001 seconds) each time, and testing to see if button C or D on the back of the Galactic Unicorn has been pressed. If either has been touched, the function ends and we return to cycle(). For regular and extended rest cycles, the function repeats 515 and 2058 times respectively.
10. How it all began
If it was button C that sent us back to cycle(), we switch between the work and rest routines (or vice versa) and, as the killswitch flag hasn’t yet been set to False, the loop continues. However, if it was button D, the flag will be set to False, and the loop will terminate. We’ll be returned to the code that called cycle() in the first place, which is the six lines from 113 to 118, at the very end of our script. This puts the integrated Raspberry Pi Pico W into a watchful state, where it’s waiting for someone to press button A. When someone does this, it makes sure the screen is blank, then launches cycle(), and we’re back where we started.
11. Test your code
To copy the code to your Galactic Unicorn, make sure the board is connected to your computer, paste the code into Thonny, then click File, followed by Save As. Click Raspberry Pi Pico on the dialog, then save it on the device using any name you choose, such as ‘pomo.py’. To run it from Thonny but on the Galactic Unicorn, click the status line at the bottom right of the Thonny window and select ‘MicroPython (Raspberry Pi Pico)’, then click the play button on the Thonny toolbar.
12. Run at boot
If you want to be able to run the timer when your Galactic Unicorn isn’t connected to a computer, make sure you save the code as main.py, on the device itself. As there is already a routine called main.py on board, Thonny will ask if you’re sure you want to overwrite it. Click Yes (you may want to make a copy first in case you ever want to reinstate it). Once the script has been saved, you can unplug your Galactic Unicorn from the computer and plug it into a regular USB adapter to run the Pomodoro timer wherever you choose.


