Privacy & Cookies: This site uses cookies. By continuing to use this website, you agree to their use.
To find out more, including how to control cookies, see here:
Cookie Policy
This tutorial will show you an easy way to edit a PDF file on Ubuntu.
PDF stands for Portable Document Format and was originally developed by Adobe. It is a portable format for presenting documents that include both text and images.
While Adobe might not provide Linux versions of its editor, there are luckily plenty of solid alternatives that you can use.
One of the best alternatives for editing PDF files on Ubuntu is LibreOffice. In particular, we will be using LibreOffice Draw. It is a great alternative because it supports the vast majority of the PDF format, is completely free to use, and is also open source.
By the end of this guide, you will have LibreOffice Draw installed on your system and know how to edit PDF files on Ubuntu.
Editing PDF Files on Ubuntu
The following two sections show you how to edit PDF files on the Ubuntu operating system.
We start these sections by getting you to install the software required to edit these PDF files. Once the PDF editor is installed, we will move on to showing you how to open it and begin editing files.
Installing LibreOffice Draw to Edit PDF Files
1. Before we can install the app we will use to edit PDF files on Ubuntu, we need to update the package list cache and upgrade any out-of-date packages.
You can update packages on Ubuntu by using the following two commands.
sudo apt update
sudo apt upgrade -y
2. We can now install the entire LibreOffice suite to your system by using the command below.
While we only need LibreOffice Draw to edit PDF files on Ubuntu, installing individual apps is not recommended. The rest of the LibreOffice suite is super useful and is a great Microsoft Office alternative, so it doesn’t hurt to install the entire suite.
sudo apt install libreoffice
3. You can verify that LibreOffice is installed on your system by getting it to output its version by running the following command.
libreoffice --version
Below, you can see that we have installed LibreOffice 7.3.7.2. We can now begin to use this version to edit PDF files on our Ubuntu system.
LibreOffice 7.3.7.2 30(Build:2)
Using LibreOffice to Edit PDF Files on Ubuntu
Once you have LibreOffice installed on your Ubuntu system, you can now use it to edit PDF files. This section will show you how to begin editing PDF files from the terminal or the desktop interface.
No matter what option you choose, you will need a desktop interface. Because PDF files are a graphic format, you can’t edit them from the terminal.
From the Terminal
1. You can easily begin editing PDF files from the terminal on Ubuntu by using “libreoffice“, followed by the path to the PDF file.
The software will automatically detect the file format and open it in the correct PDF editor.
libreoffice
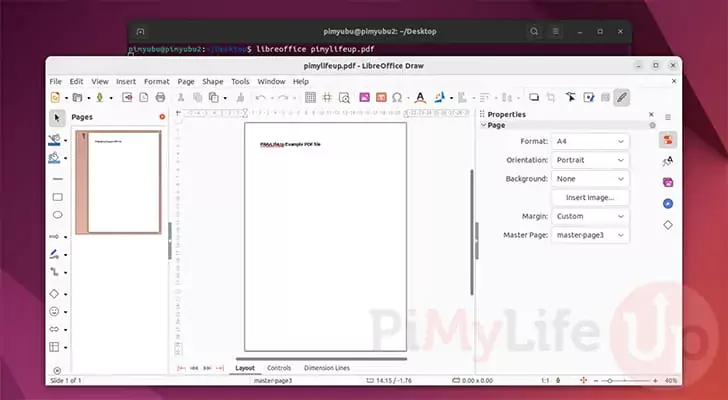
For example, if we want to edit a PDF file called “pimylifeup.pdf” we will utilize the following command.
libreoffice pimylifeup.pdf
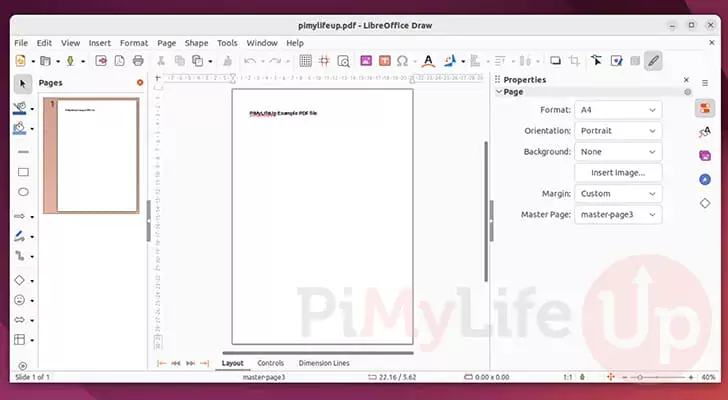
2. Below, you can see that we now have LibreOffice Draw open on our system with our PDF file open for editing.
We can now use the interface to make any adjustments we want to the file. Follow our later sections to see how to export your changes to a PDF.
From the Desktop Interface
1. In this section, we will show you how to edit a PDF file directly from the desktop interface.
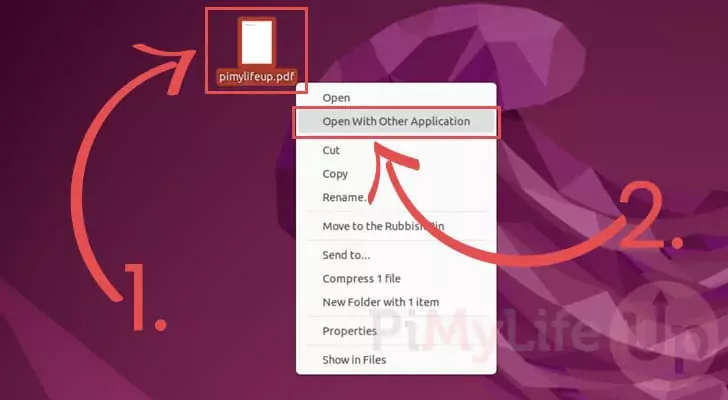
First, you will want to find the file you want to edit and right-click it (1.).
In the context menu that pops up, you will want to select the “Open With Other Application” option (2.).
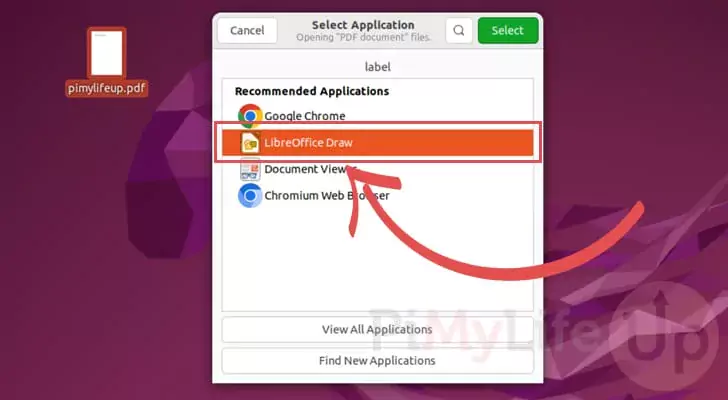
2. You will now see a selection of applications that you can use to edit this file.
The option you will want to select here is the one labeled “LibreOffice Draw“.
3. You should now have your desired PDF file open on your Ubuntu system for editing.
Use this interface to make any changes that you want to the file.
Exporting a PDF File on Ubuntu using LibreOffice Draw
In this section, we will show you how to use LibreOffice to export your newly edited file as a PDF. By default, LibreOffice typically tries to save using its own format.
Luckily, the tool has made it easy enough to export it back to a compatible PDF file.
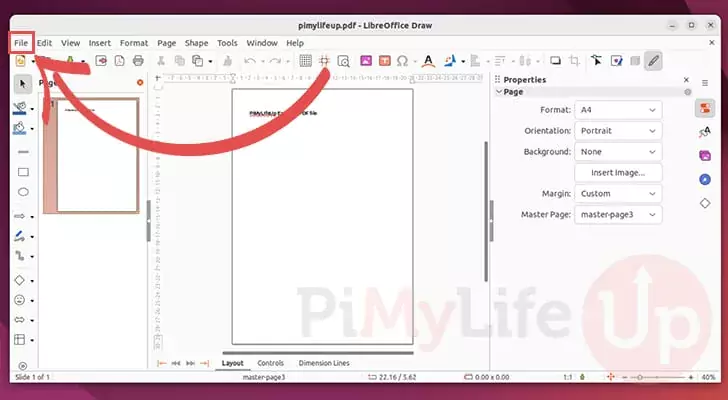
1. With the PDF editor open on your Ubuntu device, you will want to click the “File” option in the top-right corner of the screen.
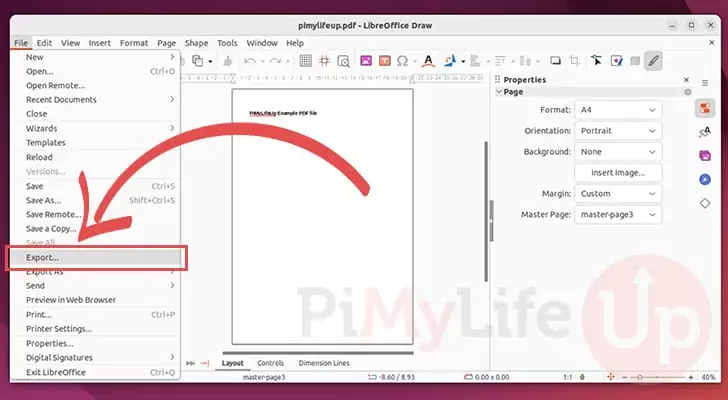
2. You will see numerous options. The one you will want to select is the one labeled “Export...“
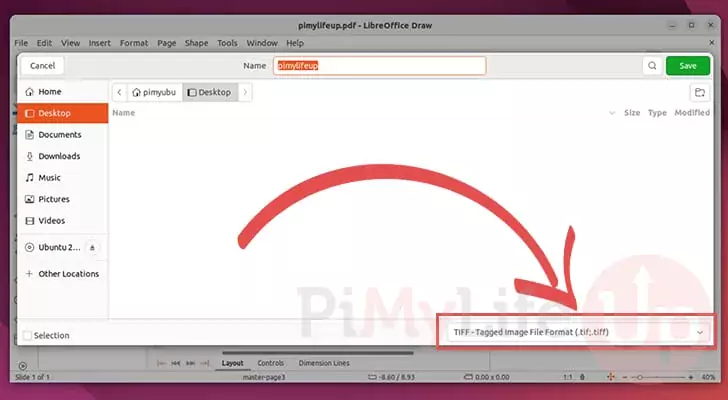
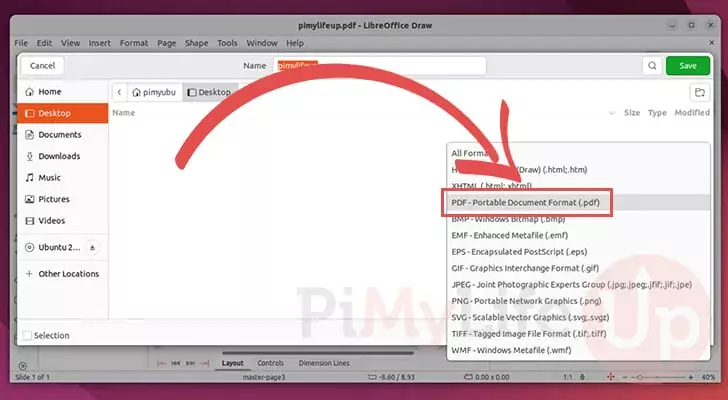
3.Clicking “Export” will bring up the following menu. This menu lets you select where you want your PDF file to be saved and the file format to export the document.
To export it as a PDF, you will want to click the select box in the bottom-right corner.
4. Within the format list, find and select the one labeled “PDF - Portable Document Format (.pdf)“.
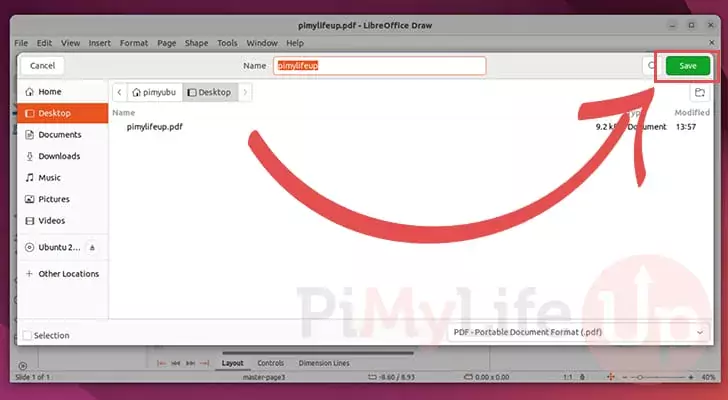
5. Now, you only need to click the “Save” button to export your edited PDF file on your Ubuntu system.
Conclusion
Hopefully, at this stage, you will have a good understanding of how to edit a PDF file on Ubuntu without relying on Adobe’s tools.
Luckily, Ubuntu has access to the super versatile and powerful LibreOffice suite of tools. These tools allow you to edit a PDF file with most of the features you expect from proprietary tools.
Please feel free to comment below if you have questions about editing PDF files on your system.