How-To Install Ubuntu Server 20.04 on a Raspberry Pi 4
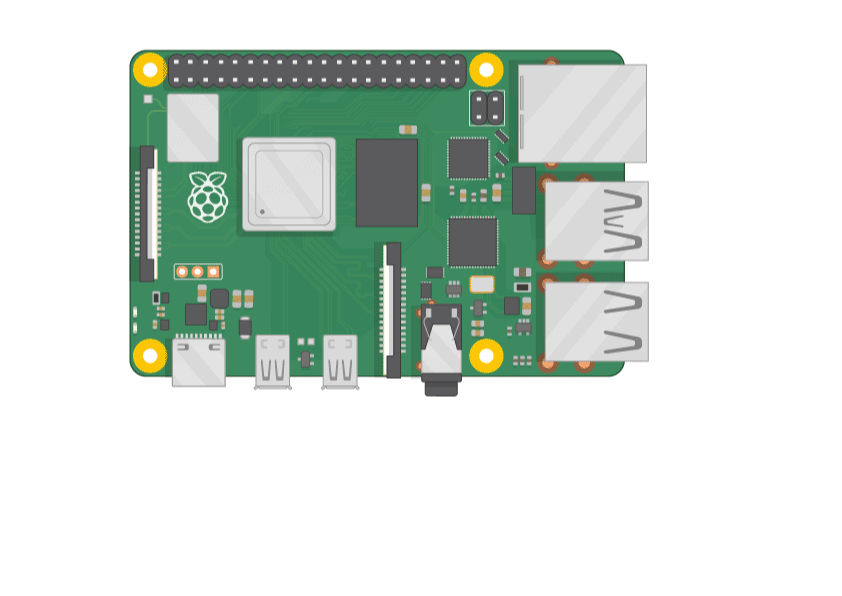
In this tutorial we will explain how to install Ubuntu Server 20.4 LTS 64bit latest release on a Raspberry Pi 4, although you can easily use it on Pi 2 and 3, for this tutorial, we will stick on Pi 4 4GB ram edition. You can still use the 2GB or 8GB editions if you want to!
First things first.
You will need a few good things to start :
- Download the file from the Ubuntu Downloads section, select Raspberry Pi 4 20.04 LTS 64Bit.
- Download the Raspberry Pi Imager for Windows, macOS, or Ubuntu depending on your OS
- You need a MicroSD card and a card reader/writer. Any Card range from 8GB to 128GB depending on your need for space as long as they are microSDHC Class 10 A1 is just fine.
- Insert the MicroSD and write your image.
- Note: Sometimes downloading the image first from the first link and then writing it on the Imager is better than downloading it from the Imager itself.

- Choose your OS your downloaded by choosing Custom in the menu.
- Choose your SD Card, careful don’t make a mistake be sure it is the right choice.
- Write your MicroSD.
- When finished, remove the MicroSD card and close the software.
If you bought a nice case to go with it as I have recommended the Geekpi case for Raspberry Pi 4, then you are good to go. Have your heatsink and all in place and fan ready.
Now that you have made this possible you have your OS on a MicroSD, you should insert it on your Raspberry Pi.
Add all your connections Ethernet cable, Mouse, Keyboard, Mini Hdmi at least one if you don’t have two or don’t need it for now, Power on and let’s start.
You will get a welcome message after startup. Login is ubuntu and password is ubuntu, this will ask you to change your password to a password of your choice and retype again your password for confirmation. Remember to write down your new password so you will not forget it.
Setting up SSH for Ubuntu Server.
Make sure you have ssh installed on your pi. This is important so you can ssh connect to your pi by remote.
Let’s first update and upgrade our pi for the first time and see if there are any new updates for our server. Type in your terminal these commands:
sudo apt update
sudo apt upgrade -y
Note: Sometimes it happens that it might tell you it’s being used by another process. Don’t be worried as 20.04 has an automatic way of gathering the latest updates, but to make sure wait a bit until the process is finished. Then try again those commands.
Now let’s make sure that the OpenSSH server is installed by running the following command.
sudo apt install openssh-server
Our next step is to enable and start up the SSH service.
sudo service ssh enable
sudo service ssh start
Once you have completed these steps, you should now be able to SSH into your Raspberry Pi.
Login on ssh using your terminal:
ssh root@your_server_ip
in this case your root is ubuntu@ip . To find your ip use the following command:
ip a
ip r
This will determine the ethernet local IP address of your raspberry pi. Then try to log in on terminal using your ssh ubuntu@ipaddresshere if your IP address is like 192.168.0.16 then it should be obvious to use ssh ubuntu@192.168.0.16 then it will ask you your password then you will be logged in. To exit just type exit.
Before we move on to our next step for configuring your static IP, the first thing is to create a new user then the next step to configure and enable the firewall.
Create a new user account.
The reason for creating a new user is to securely use it as a default for your projects and not the root. Fairly this more optional but very useful in many cases.
This example creates a new user called sammy, but you should replace that with a username that you like:
sudo adduser sammy
You will be asked a few questions, starting with the account password.
Enter a strong password and, optionally, fill in any of the additional information if you would like. This is not required and you can just hit ENTER in any field, you wish to skip.
Now, we have a new user account with regular account privileges. However, we may sometimes need to do administrative tasks.
To avoid having to log out of our normal user and log back in as the root account, we can set up what is known as superuser or root privileges for our normal account. This will allow our normal user to run commands with administrative privileges by putting the word sudo before each command.
To add these privileges to our new user, we need to add the user to the sudo group. By default, on Ubuntu 20.04, users who are members of the sudo group are allowed to use the sudo command.
As root, run this command to add your new user to the sudo group (substitute the highlighted username with your new user):
usermod -aG sudo sammy
Now, when logged in as your regular user, you can type sudo before commands to perform actions with superuser privileges.
To login with that new created user type the following:
su - sammy
When you finish whatever you are doing in that account just type exit for exiting that account.
This will help us create later a user called also ircd for your tutorial on How to make your own Unrealircd Server. But that is another tutorial for another day.
Firewall configuration.
UFW is installed by default on Ubuntu. If it has been uninstalled for some reason, you can install it with sudo apt install ufw.
If we enabled our UFW firewall now, it would deny all incoming connections. This means that we will need to create rules that explicitly allow legitimate incoming connections — SSH or HTTP connections, for example — if we want our server to respond to those types of requests. If you’re using a cloud server, you will probably want to allow incoming SSH connections so you can connect to and manage your server.
To configure your server to allow incoming SSH connections, you can use this command:
sudo ufw allow ssh
This will create firewall rules that will allow all connections on a port 22, which is the port that the SSH daemon listens on by default. UFW knows what port allow ssh means because it’s listed as a service in the /etc/services file.
However, we can actually write the equivalent rule by specifying the port instead of the service name. For example, this command works the same as the one above:
sudo ufw allow 22
If you configured your SSH daemon to use a different port, you will have to specify the appropriate port. For example, if your SSH server is listening on port 2222, you can use this command to allow connections on that port:
sudo ufw allow 2222
Now that your firewall is configured to allow incoming SSH connections, we can enable it.
To enable UFW, use this command:
sudo ufw enable
You will receive a warning that says the command may disrupt existing SSH connections. We already set up a firewall rule that allows SSH connections, so it should be fine to continue. Respond to the prompt with y and hit ENTER.
The firewall is now active. Run the sudo ufw status verbose command to see the rules that are set. The rest of this tutorial covers how to use UFW in more detail, like allowing or denying different kinds of connections.
At this point, you should allow all of the other connections that your server needs to respond to. The connections that you should allow depends on your specific needs. Luckily, you already know how to write rules that allow connections based on a service name or port; we already did this for SSH on port 22. You can also do this for:
- HTTP on port 80, which is what unencrypted web servers use, using sudo ufw allow http or sudo ufw allow 80
- HTTPS on port 443, which is what encrypted web servers use, using sudo ufw allow https or sudo ufw allow 443
There are several other ways to allow other connections, aside from specifying a port or known service.
Alternatively you can try using the applications can register their profiles with UFW upon installation. These profiles allow UFW to manage these applications by name. OpenSSH, the service allowing us to connect to our server now, has a profile registered with UFW.
You can see this by typing:
sudo ufw app list
OutputAvailable applications:
OpenSSH
We need to make sure that the firewall allows SSH connections so that we can log back in next time. We can allow these connections by typing:
sudo ufw allow 'OpenSSH'
Type y and press ENTER to proceed. You can see that SSH connections are still allowed by typing:
sudo ufw status
OutputStatus: active
To Action From
-- ------ ----
OpenSSH ALLOW Anywhere
OpenSSH (v6) ALLOW Anywhere (v6)
These firewall rules we will use them in other tutorials as needed for other usages. For example in our new tutorial on How to make your own Unrealircd Server. For more on UFW Firewall documentation, you can find more info here.
Configure Static IP Address.
This is the part we configure your static IP address. I would suggest you have a static IP address for this to continue, otherwise, you can’t use it with a dynamic IP address. You must first make inquiries to your Internet Service Provider if you can have a static IP address. The cost may vary from one company to another. In my case, I’m using Cablenet here in Cyprus, so there is no need for any additional costs, but if you are like from Cytanet, you will need to buy it additionally from here or if you are with PrimeTel here. The cost is not much as it may be around 6 euros a month.
Let’s start by generating with the netplan command on your ubuntu server.
sudo netplan generate
Now open your netplan using your editor, in my case I use nano.
sudo nano /etc/netplan/00-installer-config.yaml
Delete old text if it exists and insert below text then change ip address as your needed.
Note: It is strongly advised that you DO NOT use the tab in any case when adding this code, otherwise this will end up as an error and will not work.
Note: Make SURE when you used ip a command before you wrote down your ethernet connection name in this case it is eth0. In addresses, you MUST change it to your own IP address including the /24 after the IP otherwise this will not work. Make sure your gateway is the correct IP address. All the rest must stay the same. Do not change the nameservers section.
network:
    ethernets:
        eth0:
            addresses:
            - 10.66.10.15/24
            dhcp4: false
            gateway4: 10.66.10.1
            nameservers:
                addresses:
                - 8.8.8.8
                - 8.8.4.4
                search:
                - workgroup
    version: 2
Save your file using Ctrl+O then Ctrl+X to close.
sudo netplan apply
At this point, I would suggest you run a sudo reboot after which you can also see if everything went well by using the command ip r to see if the static IP is showing up.
In my case it would look like something like this:
ubuntu@ubuntu:~$ ip r
default via 192.168.0.1 dev eth0 proto static
default via 192.168.0.1 dev eth0 proto dhcp src 192.168.0.16 metric 100
192.168.0.0/24 dev eth0 proto kernel scope link src 192.168.0.16
192.168.0.1 dev eth0 proto dhcp scope link src 192.168.0.16 metric 100
ubuntu@ubuntu:~$
This concludes our long tutorial on How to install ubuntu server 20.04 on a raspberry pi 4.
Our next tutorial will be on How to install and setup a Unrealircd server on a pi 4.
Hope you enjoyed this tutorial and share and leave us a comment below! 😀


